
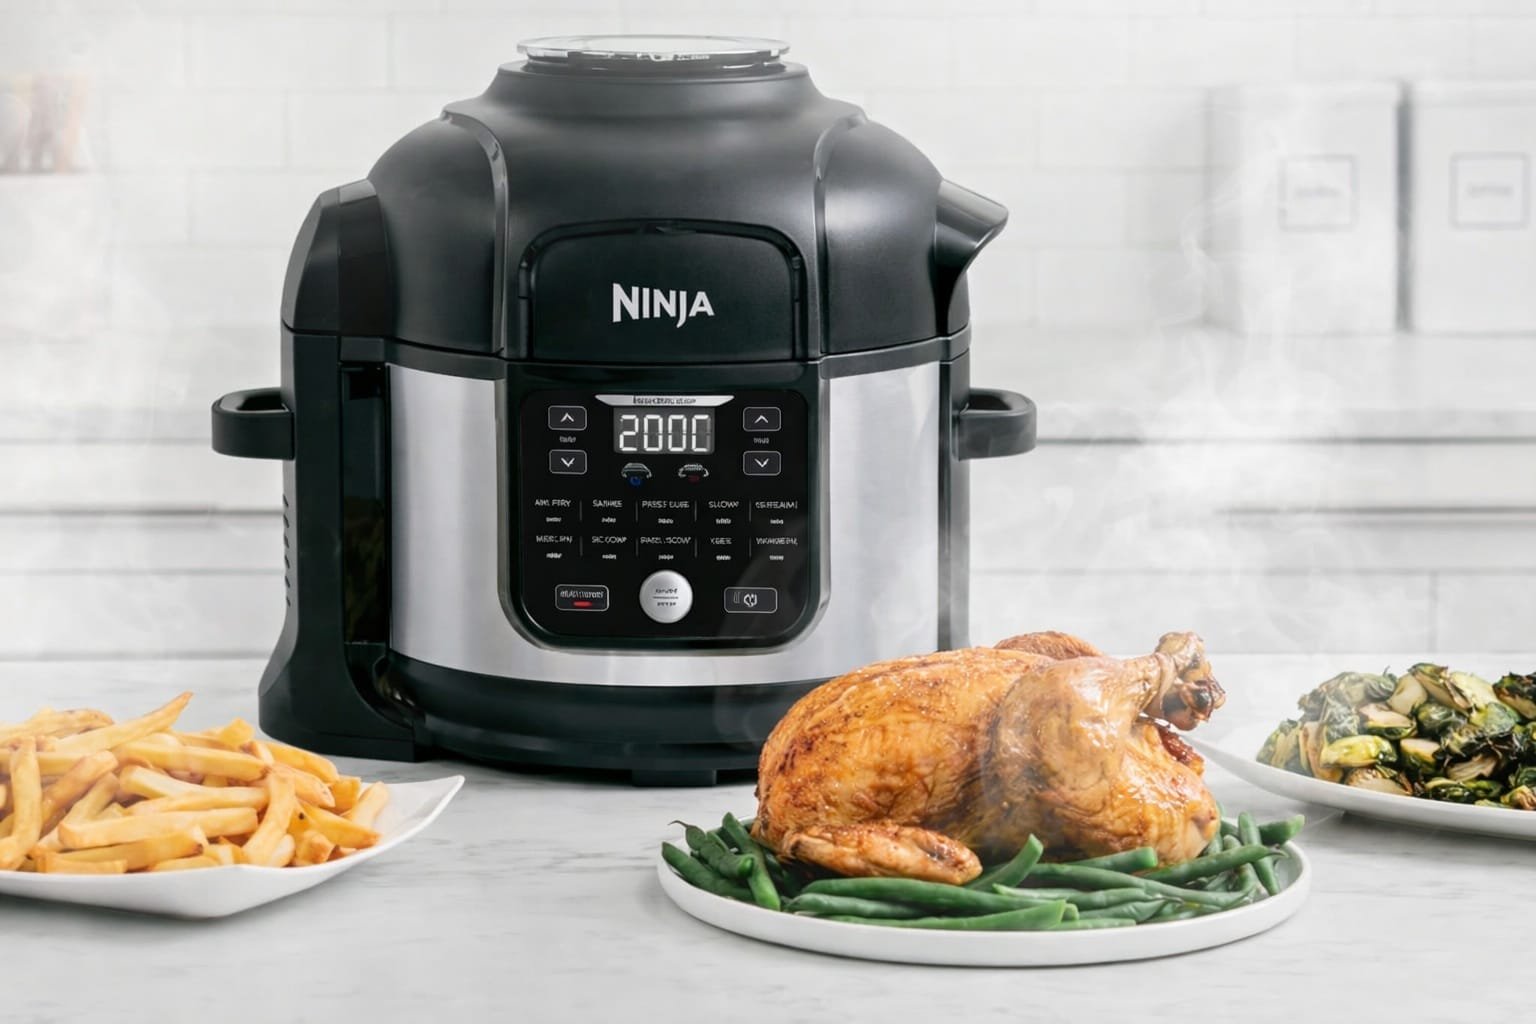
Plug it in, preheat, select a function, set time and temp, then cook.
If you want a simple, clear guide on how to use Ninja multi cooker air fryer, you’re in the right place. I’ve cooked hundreds of meals in these combo units and helped many first-time users avoid common mistakes. This hands-on guide breaks down every step, from setup to cleaning, with pro tips, times, and tested methods you can trust.
Source: co.nz
What is a Ninja multi cooker air fryer?
A Ninja multi cooker air fryer is a countertop appliance that can air fry, pressure cook, slow cook, steam, sauté, bake, roast, and more. It combines a heated fan with smart controls and, on some models, a separate pressure lid. You get fast, crispy results and tender, juicy food in one pot.
Models and names vary by region and features. The core idea stays the same: one base, a main pot, a crisping system, and modes you can switch with a dial or buttons. This guide shows how to use Ninja multi cooker air fryer features across popular models in a simple way.
Source: walmart.com
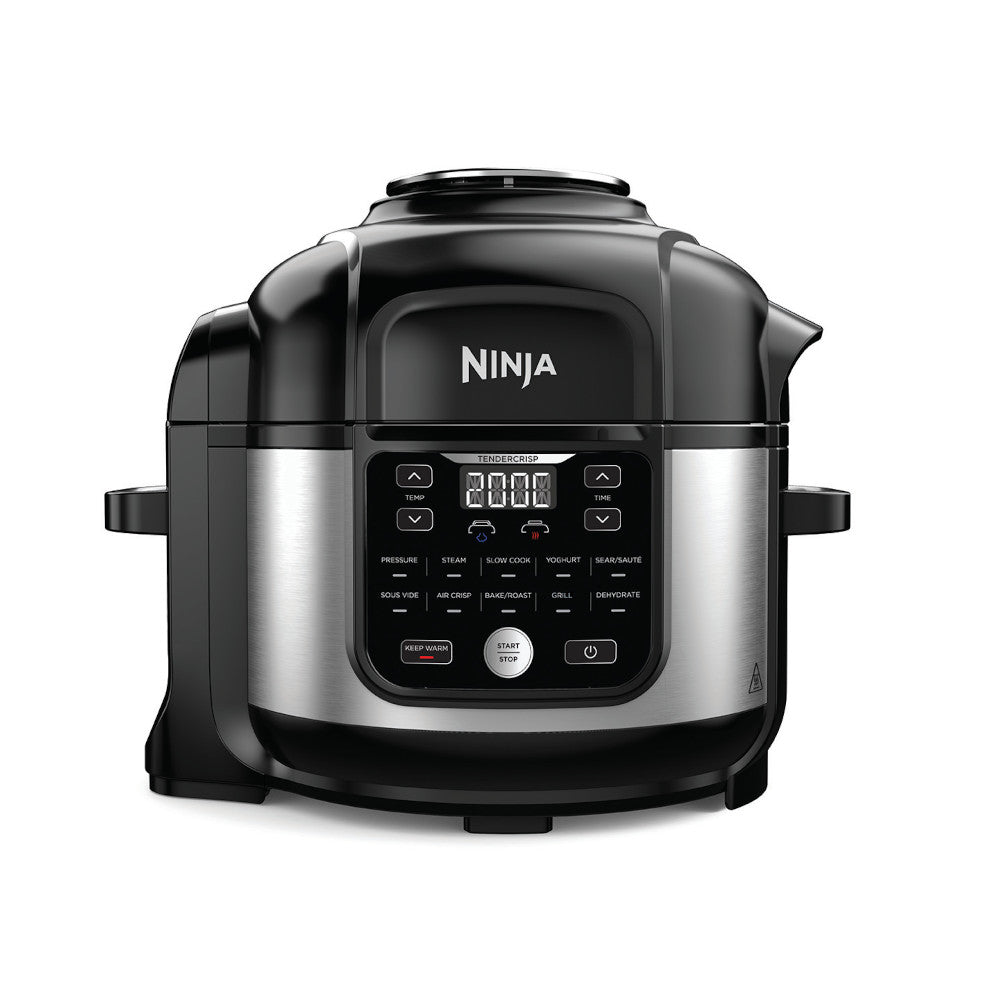
Meet the parts and controls
Before you learn how to use Ninja multi cooker air fryer settings, know the parts. A quick tour saves time and errors later.
- Main unit and heating element: The base holds the brain and heater. Never immerse it in water.
- Cooking pot: The removable inner pot holds food and liquids. Always seat it flat.
- Crisping lid: Attached on some models; it holds the fan and heater for air fry and roast modes.
- Pressure lid: A separate lid for pressure cook and steam. It has a sealing ring and a vent/valve.
- Air fry basket or crisper plate: A perforated basket or tray that lets hot air flow.
- Rack or reversible rack: Lifts food for roasting, steaming, or layering.
- Sealing ring: The silicone ring inside the pressure lid. It must sit evenly to seal.
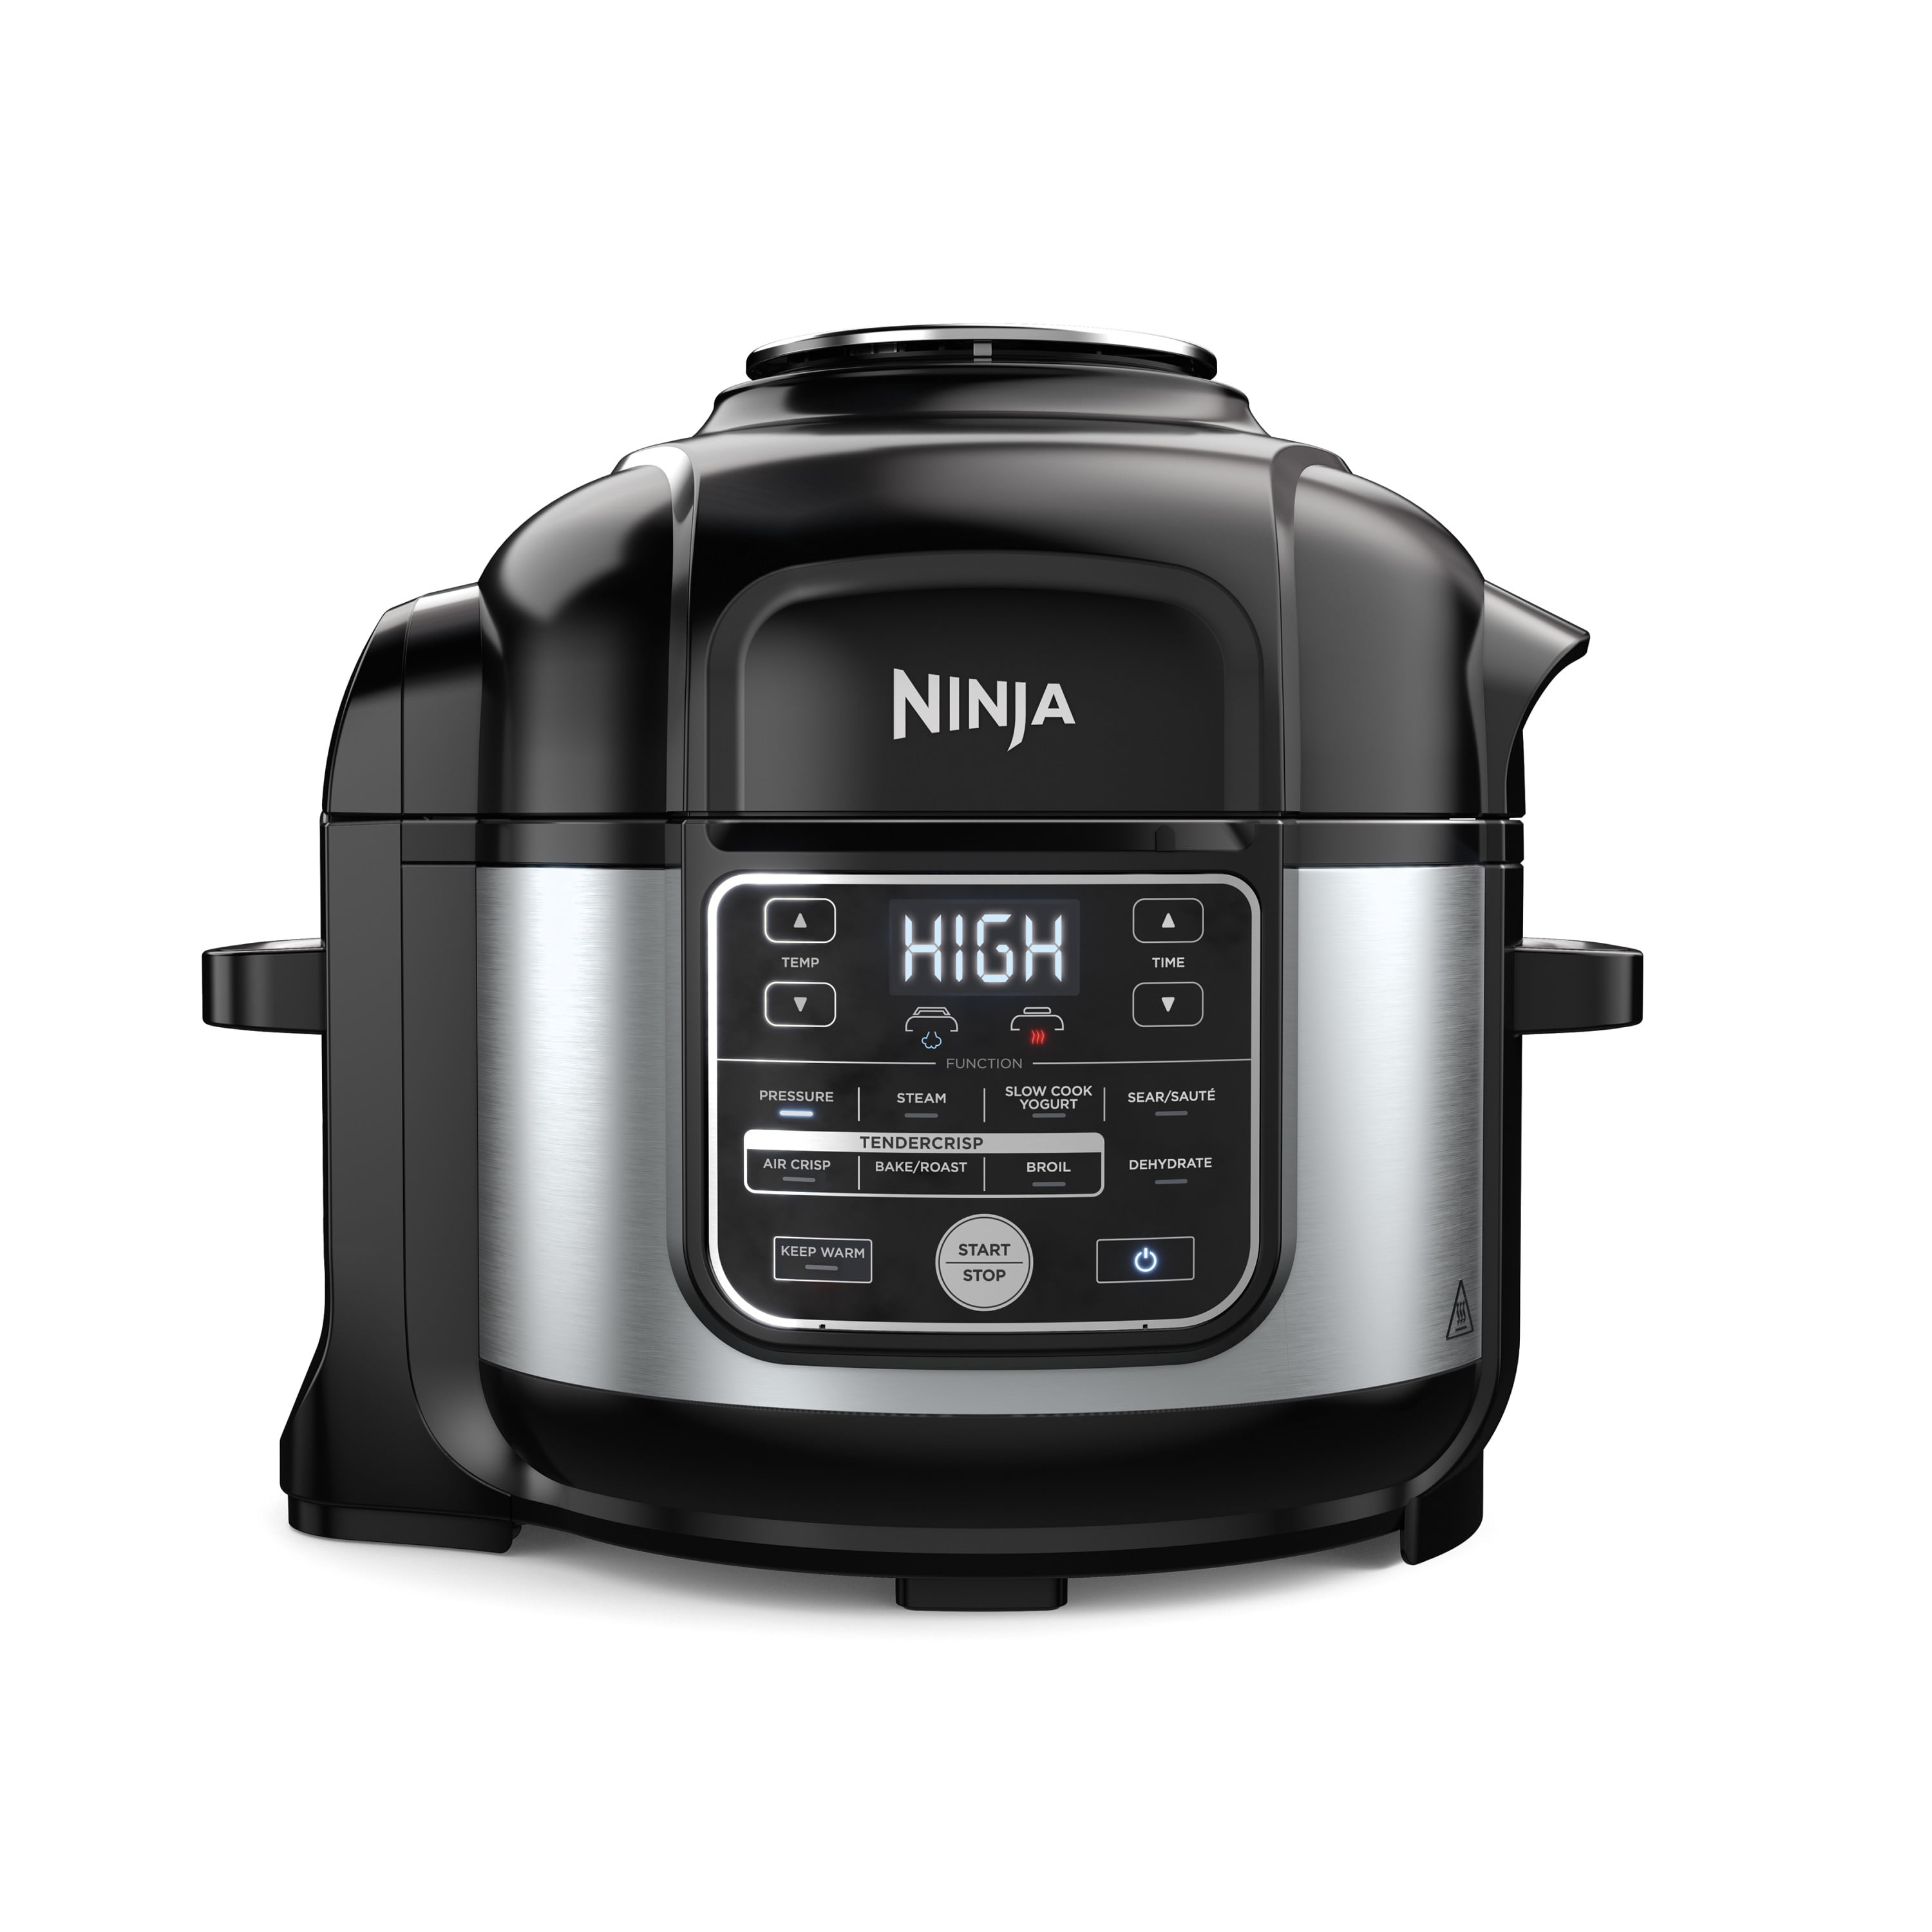
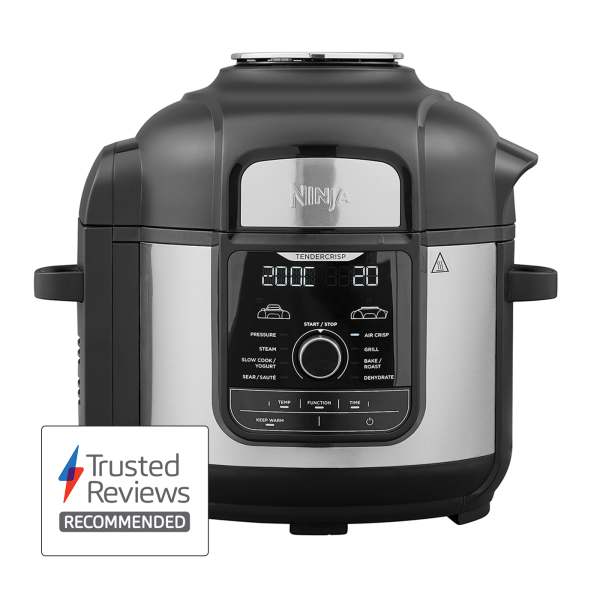
- Control panel: Buttons or dial for functions, temp, time, and start/stop.
Tip from my own kitchen: keep two sealing rings if you can. Use one for savory, one for desserts, to reduce smells.
Source: co.uk
First-time setup and test run
A smooth first run builds confidence. Here is how to use Ninja multi cooker air fryer from box to first bite.
- Wash and dry parts. Clean the pot, basket, rack, and pressure lid with warm soapy water. Wipe the base.
- Install the sealing ring. Press it into the groove of the pressure lid all the way around.
- Seat the pot. Set the inner pot in the base so it sits flat and snug.
- Do a short preheat. Close the crisping lid. Select Air Fry at 400°F for 5 minutes with the basket empty to burn off factory oils.
- Do a pressure water test. Add 1 cup water to the pot. Lock the pressure lid. Set the valve to Seal. Select Pressure Cook for 2 minutes, then let pressure release naturally for 5 minutes before you move the valve to Vent.
This quick routine checks seals, displays, and valves. It also teaches you how to use Ninja multi cooker air fryer controls without stress.

Source: co.uk
Core cooking modes and how to use them
You do not need to master every feature on day one. Start with the big three: Air Fry, Pressure Cook, and Sear/Sauté. Then try Bake/Roast, Steam, and Dehydrate when ready. These steps fit most models, but always confirm your manual.
Air Fry (crispy and fast)
- Preheat 3 to 5 minutes for best texture.
- Place food in the basket in a single layer. Lightly spritz with oil for color.
- Select Air Fry. Set temp between 350°F and 400°F. Set time based on the chart below.
- Shake or flip halfway for even browning.
- Check doneness with a thermometer. Let food rest 2 minutes to keep it crisp.
Pro tip: Do not overcrowd. Two lighter batches beat one soggy batch.
Pressure Cook (juicy and tender)
- Add thin liquid. Most foods need at least 1 cup of water or broth.
- Lock the pressure lid and set the valve to Seal.
- Select Pressure Cook. Pick High or Low pressure and set the time.
- After cooking, choose release method:
- Quick release: Turn the valve to Vent right away. Use tongs or a spoon.
- Natural release: Wait 10 to 15 minutes, then vent. Great for meat and soups.
- If you want crispy edges after pressure, switch lids and use Air Crisp for 5 to 10 minutes.
Avoid the burn notice: layer sauces on top and keep thick items off the bottom with a rack.
Sear/Sauté (brown first, boost flavor)
- Select Sear/Sauté. Preheat with a small amount of high smoke point oil.
- Brown meat or bloom spices. Deglaze with broth to lift fond.
- Switch to Pressure Cook or Air Fry as needed.
Bake/Roast (even heat, less oil)
- Use the rack to lift food and improve airflow.
- Select Bake or Roast. Set temp like a regular oven.
- Check early. Air movement often cooks faster than a wall oven.
Steam (fast and bright)
- Add water to just below the rack level.
- Place food on the rack. Lock the pressure lid with the valve to Vent or use a steam setting.
- Short times keep veggies crisp and bright.
Dehydrate (low and slow)
- Slice thin and even. Pat dry.
- Use Dehydrate at 135°F to 160°F for several hours.
- Rotate trays or shake the basket as needed.
If you ever wonder how to use Ninja multi cooker air fryer modes for a dish you love, start 25% lower time than a standard oven and check early. You can always add minutes.

Source: ninjakitchen.ae
Quick “people also ask” answers
Is preheating required for air frying?
Preheating gives better browning and reduces soggy spots, so I recommend it. Many models heat fast, but 3 to 5 minutes helps texture.
How much oil should I use?
Use 1 to 2 teaspoons per pound of food. A light spritz is often enough to get great color.
Can I put foil or parchment in the basket?
Yes, but do not block airflow. Use perforated parchment made for air fryers or poke holes yourself.

Source: jordanianschoolqatar.com
Time and temperature cheat sheet
These are starting points. Sizes vary, so check early and use a thermometer for safety. I built these from repeat tests and standard guidance.
Air Fry
- Chicken thighs, bone-in: 380°F, 22 to 26 minutes, flip at 12 minutes
- Chicken wings: 390°F, 20 to 25 minutes, shake twice
- Salmon fillets, 1 inch: 390°F, 7 to 10 minutes
- Broccoli florets: 375°F, 8 to 10 minutes, toss with oil and salt
- Fries, frozen: 390°F, 18 to 22 minutes, shake twice
- Baked potato, russet: 390°F, 35 to 45 minutes, oil and salt skin
Pressure Cook
- White rice, 1:1 water, 1 cup rice: High, 3 minutes, 10-minute natural release
- Brown rice, 1:1.25 water: High, 15 minutes, 10-minute natural release
- Pork shoulder, 2-inch chunks: High, 35 minutes, 10-minute natural release
- Dried beans, soaked: High, 10 to 20 minutes depending on type, natural release
Food safety note: Follow safe internal temps, like 165°F for poultry and 145°F for whole fish, per national guidelines.

Source: sushilkumarsingh.in
Safety, maintenance, and cleaning
Your unit is safe when used right. Treat steam and hot oil with care. Here is how to use Ninja multi cooker air fryer safely and keep it clean.
- Steam burns fast. Keep hands away from the valve. Use tools to vent.
- Do not use aerosol spray oils. They can damage the nonstick. Use a pump sprayer.
- Clean the basket and pot after each use. Warm soapy water works well.
- Wipe the heating element and crisping lid when cool. Remove crumbs to prevent smoke.
- Wash the sealing ring often. If odors linger, soak in a vinegar-water mix.
- Check the valve and float pin for food bits. A stuck valve prevents pressure.
- Do not submerge the base. Unplug before cleaning the exterior.
If you see smoke, pause, cool, and wipe oil residue. High sugar sauces can smoke at air fry temps.

Source: bmts.ae
Pro tips, mistakes to avoid, and real-world fixes
After many dinners, I learned what works and what does not. These simple moves will raise your success rate fast.
- Do not overcrowd. Food needs space. Two batches beat one bad batch.
- Preheat for crisp food. It is a small step with a big payoff.
- Dry food before air frying. Pat meat and veggies dry for better browning.
- Toss with oil and salt first. Season sticks better than sprinkling later.
- Use a rack for roasts. Air flow under meat gives even cook and less sog.
- Mind the valve. Set to Seal for pressure. Set to Vent for steam. I once waited 20 minutes for pressure that never came.
- Burn notice fix. Stir to deglaze the bottom. Add 1/2 cup more thin liquid. Lift food on a rack.
- Smelly ring? Keep two rings. Store the lid off so the ring can vent.
- Use a thermometer. Guessing doneness leads to dry food or undercooked meat.
These tips show how to use Ninja multi cooker air fryer like a pro without stress. Small habits make big changes in results.
Three easy starter recipes
These are simple, fast, and repeatable. They also teach key moves and how to use Ninja multi cooker air fryer functions in real meals.
Air Fry Crispy Chicken Thighs
- Pat 4 bone-in thighs dry. Rub with 2 teaspoons oil, salt, pepper, garlic powder, and paprika.
- Preheat to 380°F for 3 minutes. Air fry 22 to 26 minutes, flipping at 12 minutes.
- Rest 3 minutes. Target 175°F at the thickest part for juicy meat.
Pressure Cook, Then Crisp Pork Carnitas
- Add 1 cup broth, 2 pounds pork shoulder chunks, 1 teaspoon salt, cumin, oregano, garlic, and orange zest.
- Pressure Cook High for 35 minutes. Natural release 10 minutes.
- Drain, shred, and spread in the basket. Air Crisp at 400°F for 8 to 10 minutes, tossing once.
Roast Veggie Medley
- Toss 1 pound mixed veggies with 1 tablespoon oil, salt, and pepper.
- Use Roast at 390°F for 12 to 16 minutes on the rack, shaking once.
- Finish with lemon juice or grated cheese.
Accessories and smart add-ons
You do not need extras to start, but the right tools make life easy. Here is what I use often.
- Instant-read thermometer for perfect doneness.
- Perforated parchment liners to reduce sticking and cleanup.
- Extra sealing rings to manage odors.
- Silicone mitts and tongs for safe handling.
- Multi-level racks to cook two layers at once.
- A small sprayer for neutral oil.
These items help you master how to use Ninja multi cooker air fryer with less mess and more control.
Frequently Asked Questions of how to use ninja multi cooker air fryer
How do I preheat the air fry function?
Close the crisping lid, select Air Fry, set the temp, and run it for 3 to 5 minutes empty. Then add food and start the timer.
Why does my unit say “Add Water” or show a burn notice?
The pot may be too dry or food is stuck to the bottom. Deglaze with liquid, add at least 1/2 to 1 cup thin liquid, and use a rack if needed.
Can I cook frozen food without thawing?
Yes, especially with Air Fry and Pressure Cook. Add extra time and check doneness with a thermometer.
What is the minimum liquid for pressure cooking?
Most models need at least 1 cup of thin liquid. This helps the unit come to pressure and prevents errors.
How do I keep food from getting soggy when air frying?
Preheat, do not overcrowd, and shake or flip halfway. Dry food well and use only a light oil coat.
Is it safe to open the lid during cooking?
You can open the crisping lid to check or shake during Air Fry or Roast. Never open the pressure lid until pressure fully releases and the float drops.
How often should I replace the sealing ring?
Replace it if cracked, loose, or very smelly. Many home cooks swap rings every 12 to 18 months with regular use.
Conclusion
You now know how to use Ninja multi cooker air fryer from setup to cleanup, with tested times, safe steps, and pro fixes. Start with an easy air fry dinner, then try a pressure-to-crisp recipe for a wow moment. Keep notes, check temps, and build your own go-to chart.
Ready to cook smarter this week? Pick one recipe above, set a timer, and press start. If you found this helpful, share it, subscribe for more tips, or drop a question in the comments—I’m happy to help you nail your next meal.


7 Comments